Manual Invoice
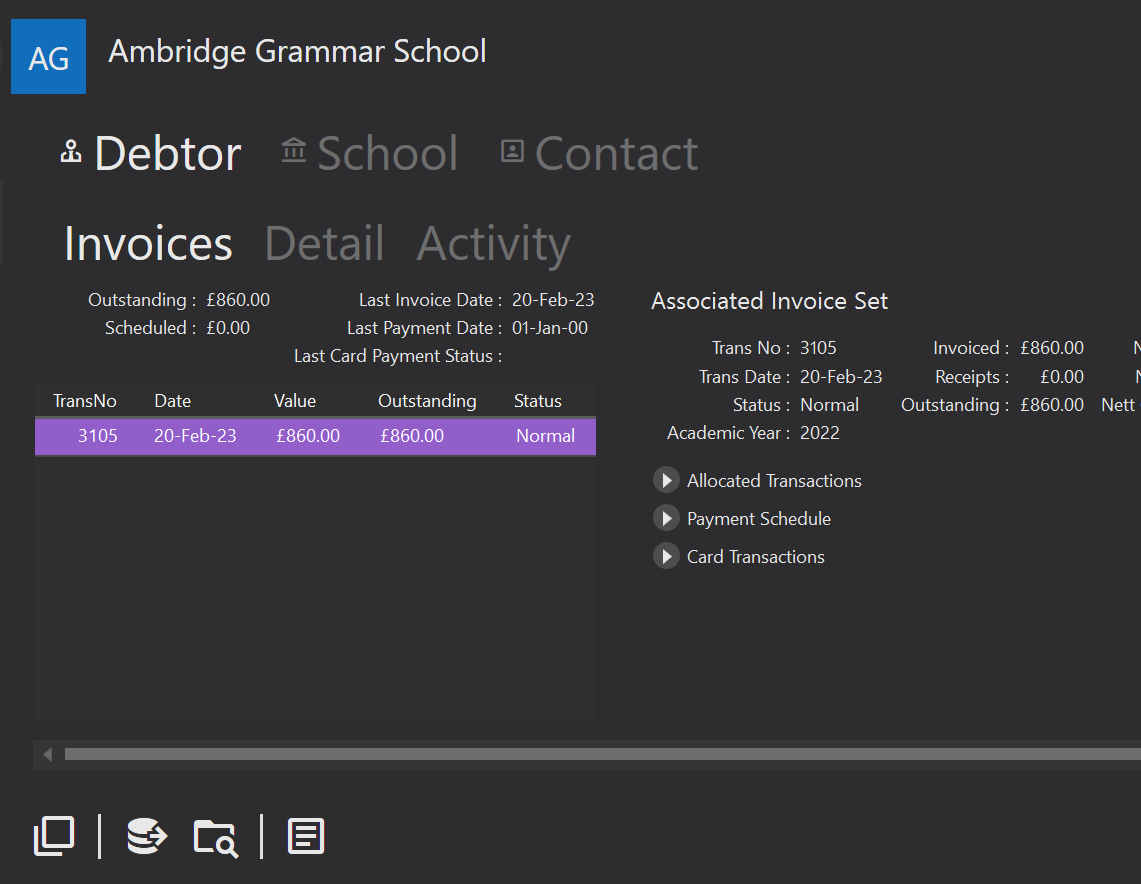
There may be times where you need to post a manual invoice to the Schools account. To do this load up the Contact card and click on the Debtor tab. Next click on the Invoices menu. Along the bottom of the screen you will see the Post an Invoice icon.
![]()
Upon clicking this, the following screen appears:
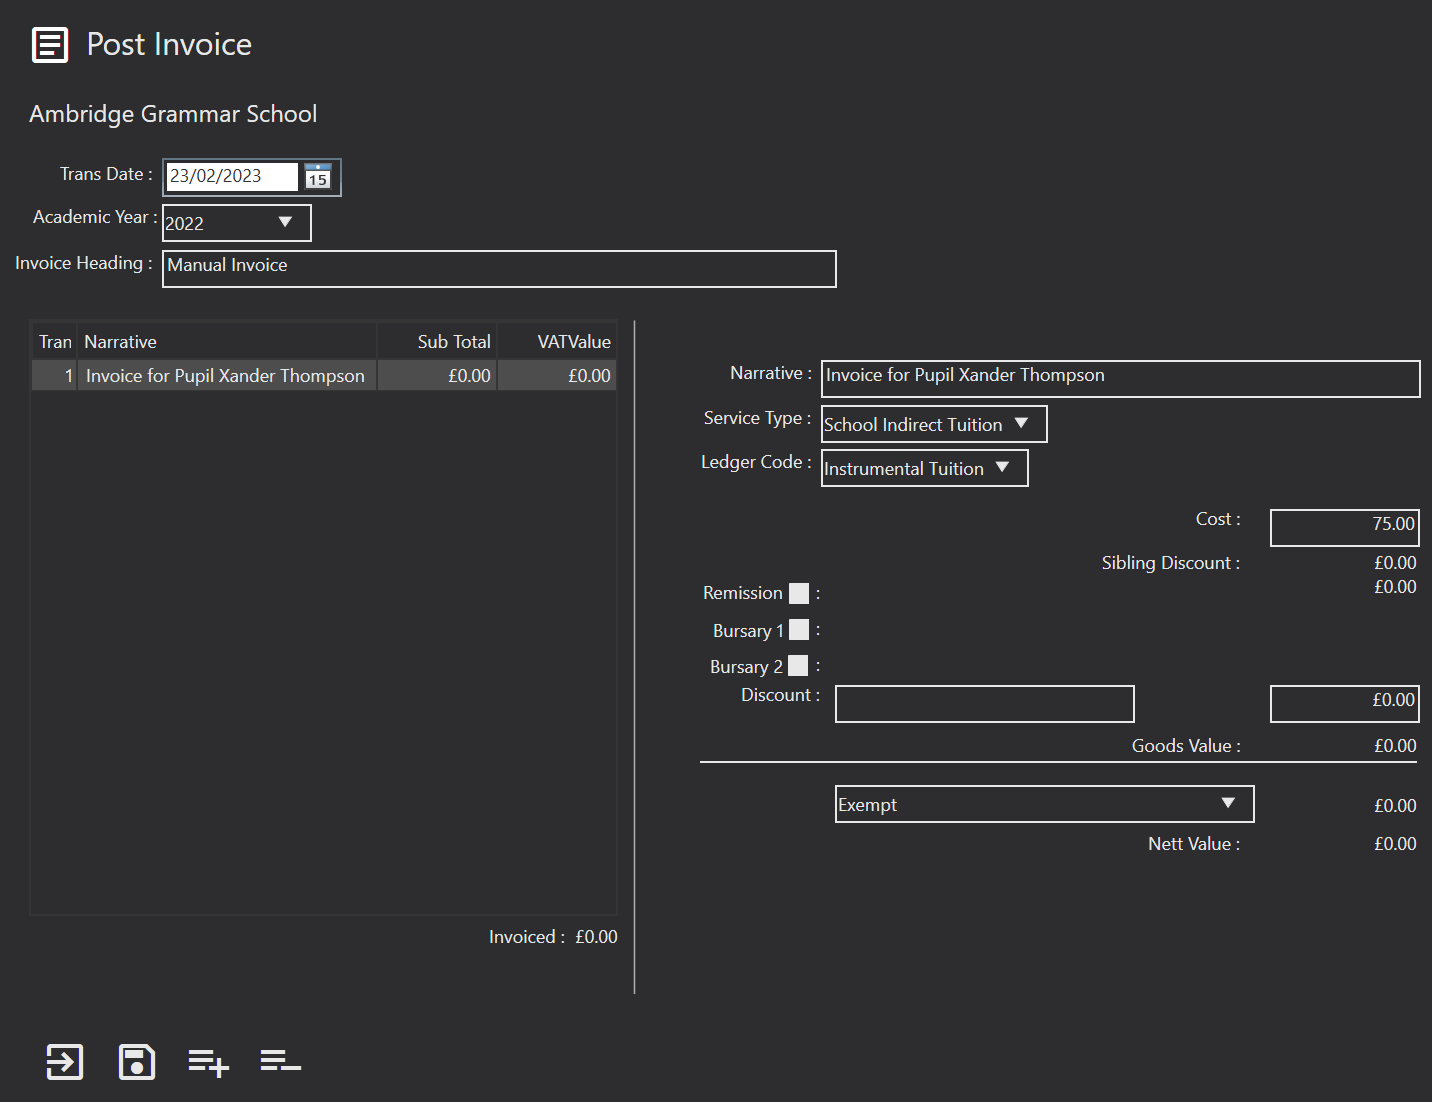
Trans Date: The date of the transaction. The system will default to today's date.
Academic Year: The Academic Year the invoice is for. The system will default to the current year.
Invoice Heading: Type in the invoice heading into here.
Narrative: Enter the description of what the line of the invoice is for.
Service Type: Select the Service Type the invoice line is for.
Ledger Code: Select the Ledger Code the invoice line is for.
Cost: Enter the value of the invoice line pre any reductions from remissions, bursaries or discounts.
Remission: If applicable, tick this field and select the remission from the drop down.
Bursary 1: If applicable, tick this field and select the bursary from the drop down.
Bursary 2: If applicable, tick this field and select the remission from the drop down.
Discount: If applicable, enter the discount description.
Discount Value: If applicable, enter the value of the discount.
VAT: Select the VAT status of the invoice line from the drop down.
You can then save the invoice, or if you need to add another invoice line click the + icon from along the bottom and repeat the process.
Users will need to email the debtor to let them know an invoice has been created.