Portal Parameters
Here, you can edit what information is on your portal website when someone is applying for services with you. You can also edit your settings using the Edit icon shown under System Settings.
Detail tab
Under the Detail tab you can set up the options for the Portal, including a lot of the text that appears on the screen.
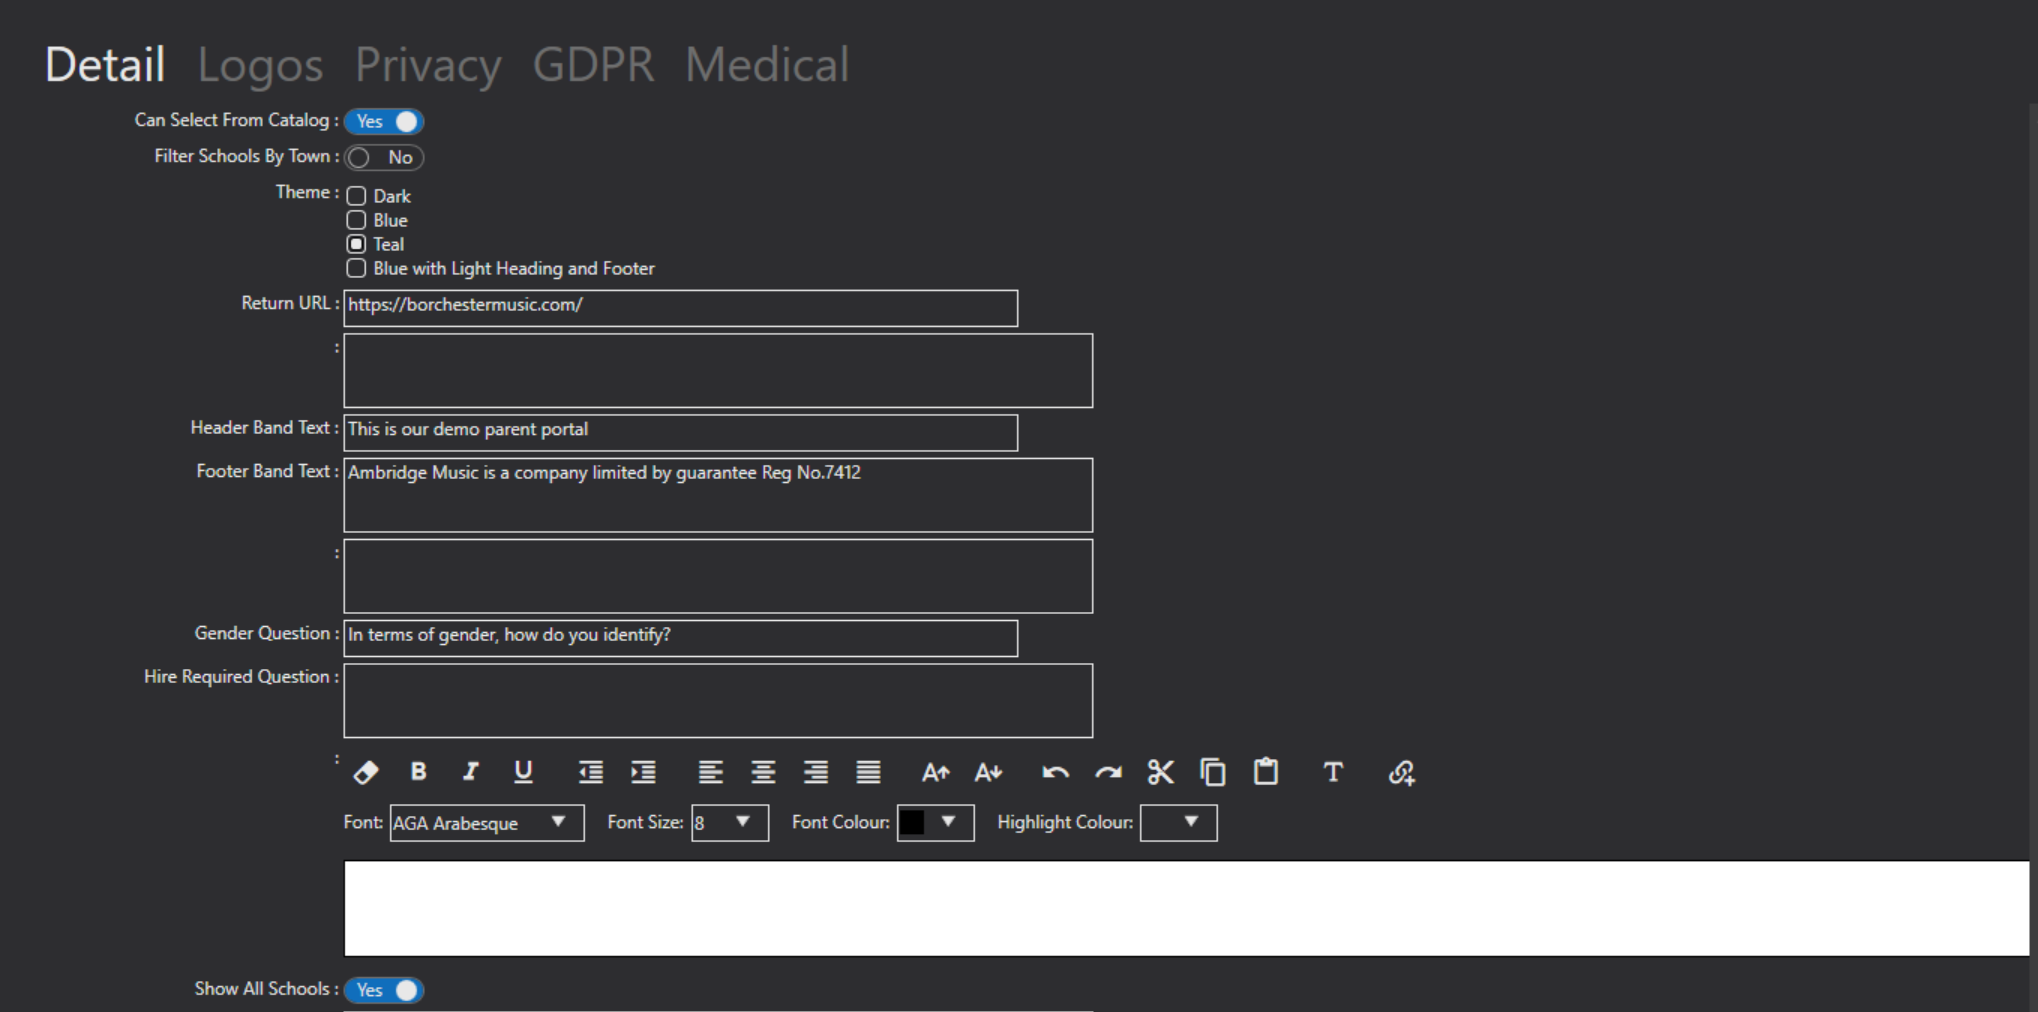

Can Select From Catalog - Enabling this option will mean you have an open catalog of activities that people can apply for. Set this to No if you would prefer to only invite pupils/applicants by sending out a web link.
Filter Schools By Town - if the Show All Schools field (further down the list of options) is set to Yes, you can select whether an applicant can search for their school by town as well as name.
Theme - here you can pick a theme for your Portal.
Return URL - at the end of the application customers can click to go to their dashboard, or go to your music service site. You can enter the web address of your web site here.
Text Box Field - enter your text in here.
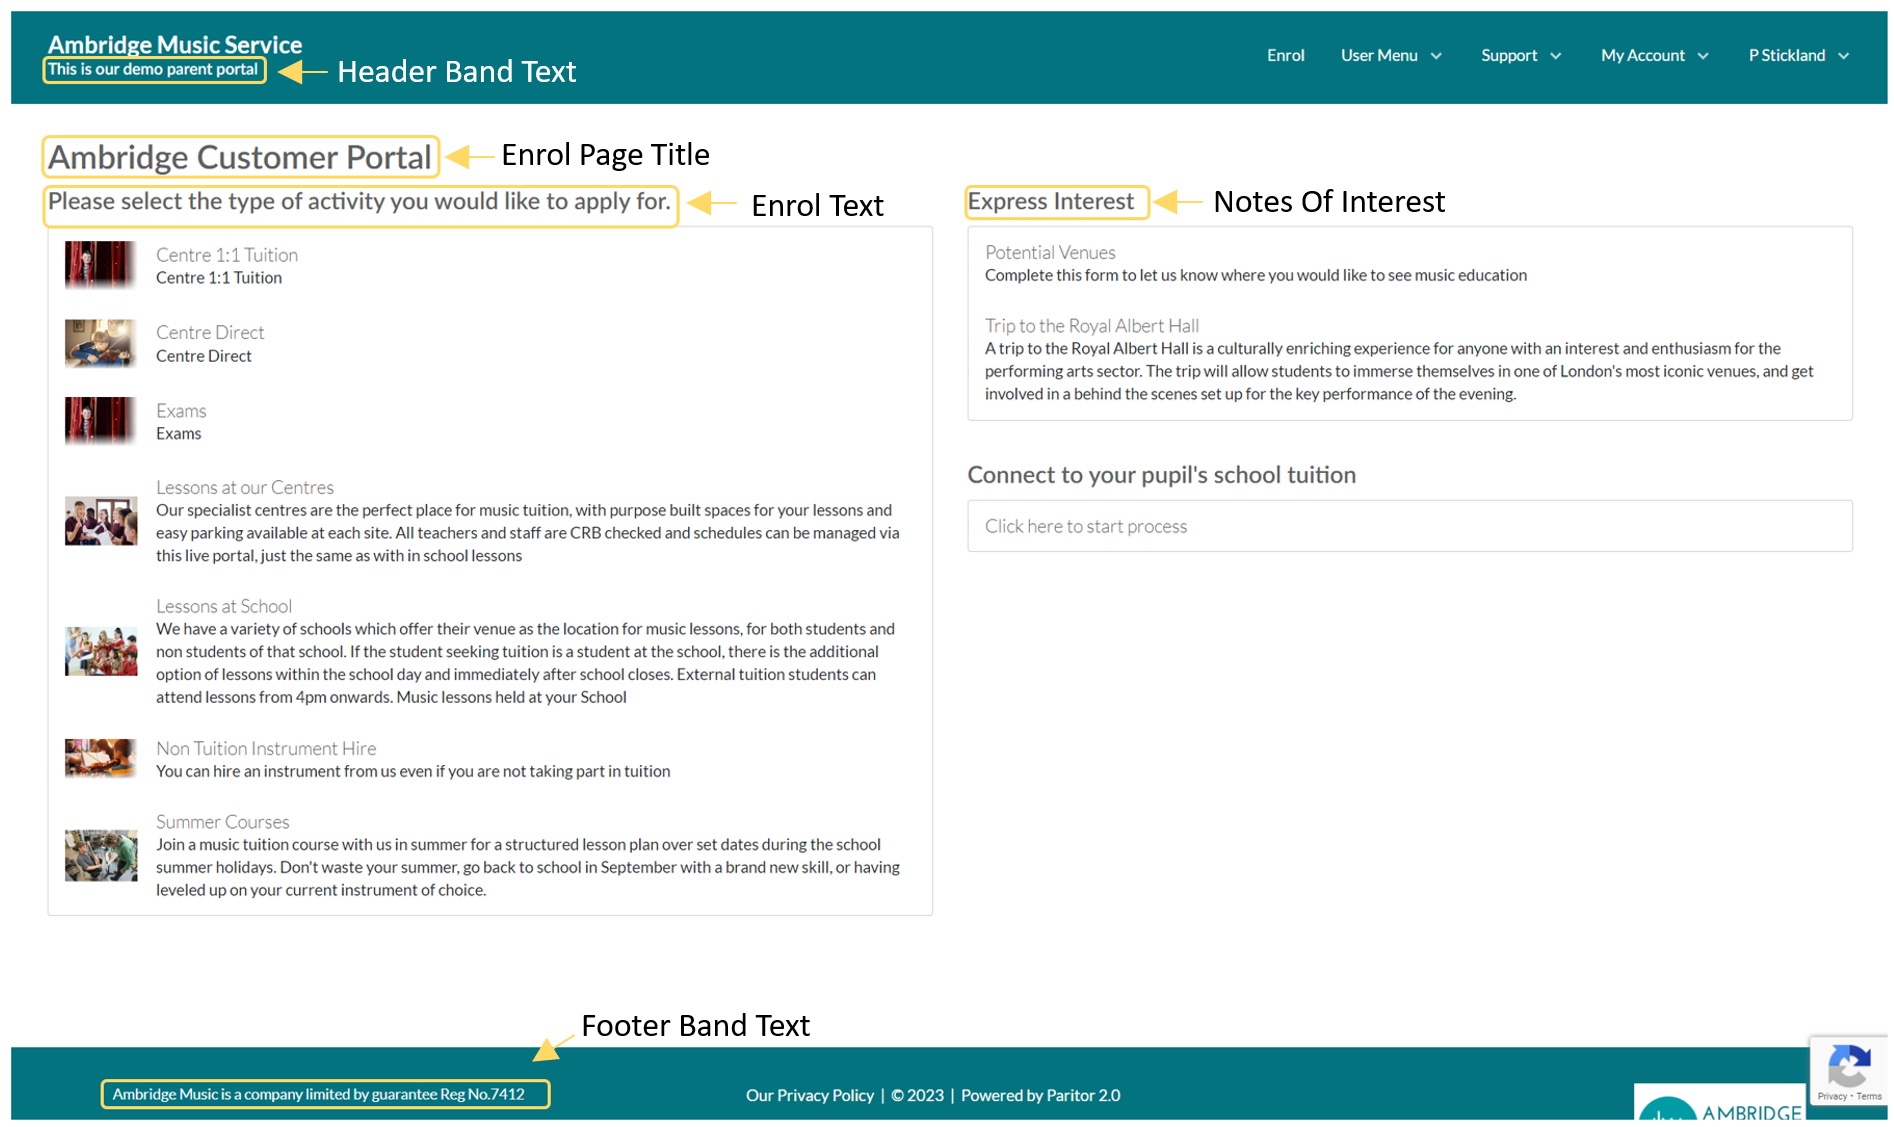
Header Band Text - enter a tag line that appears in the header of your Portal here. See below for a screenshot of where this appears on the webpage.
Footer Band Text - enter your webpage footer information in here. See below for a screenshot of where this appears on the webpage.
Gender Question - during the application process the Portal will ask the applicant to record their gender. Enter how this is to be worded in this field.
Hire Required Question - during the application process for tuition, the Portal will ask the applicant if a hire is required. Enter how this is to be worded in this field.
Font space -
Show All Schools - Enable this if you wish to show a full list of the schools you offer tuition at.
Enrol Page Title - at the top of the enrolment page is a space for title text, for example Ambridge Customer Portal. You can enter what you need here. See below for a screenshot of where this appears on the webpage.
Enrol Text - underneath the Page Title is space for further text, for example Please select the type of activity you would like to apply for. See below for a screenshot of where this appears on the webpage.
Note Of Interest Text - on the portal you can record notes of interest in up and coming events. You can specify the text that appears here. See below for a screenshot of where this appears on the webpage.
How this looks on the Portal.
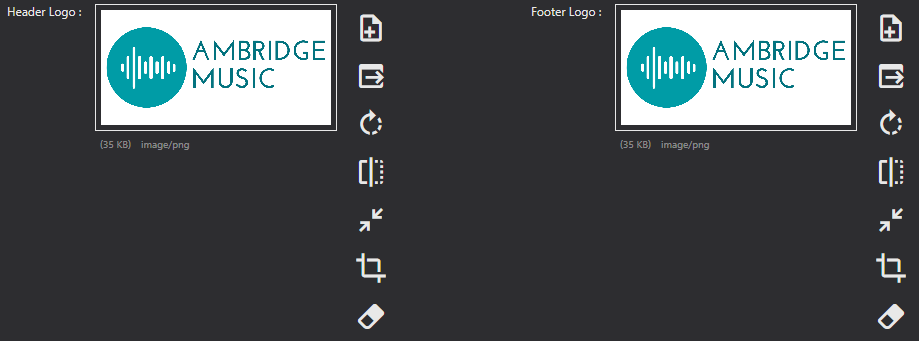
Logos tab
Under the Logos tab you can Add and Edit the logos used in your portal for both the header and footer. You can add the pictures by browsing your computer files and make edits using the icons next to the logo.
Privacy tab
The Privacy tab is where you can list your organisations Privacy Policy.
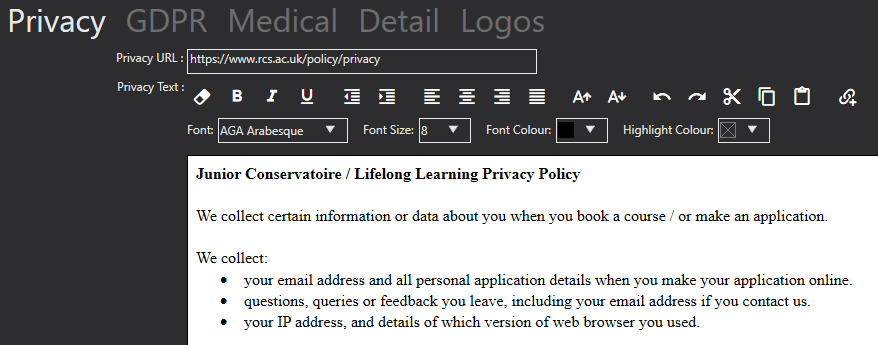
Privacy URL - if you have one hosted on a web link already, you can add this here. If you include a link, those visiting the website can click through to your privacy notice.
Privacy Text - if you don't have the above, you can create your Privacy Policy here. The privacy text is edited using the HTML Editor.
Medical tab
Here, you can refine your questions for access requirements and additional medical information.
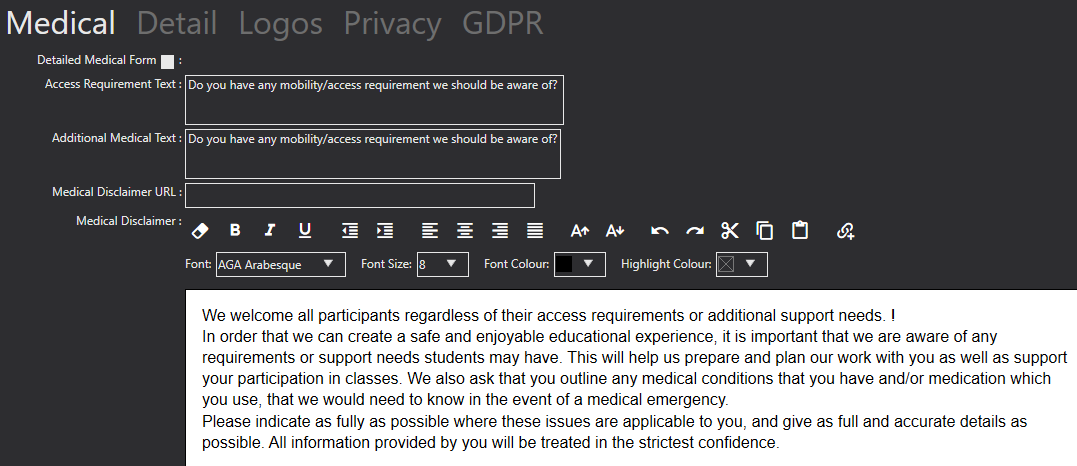
Detailed Medical Form - The system asks customers to enter their own details regarding medical or access needs. If you would like to ask more specific questions on top of these, you can create an Additional Form for this and link it to this page on the Portal by ticking this option. You can find more about how to create these forms here.
Access Requirements Text - during the application process the Portal will ask the applicant to indicate if they have any access requirements. If you wish to use a different term, enter that phrase here. Additional Medical Text - during the application process the Portal will ask the applicant to indicate if they have any medical requirements. If you wish to use a different term, enter that phrase here.
Medical Disclaimer URL - if you have one hosted on a web link already, you can add this here. If you include a link, those visiting the website can click through to your medical disclaimer.
Medical Disclaimer - if you don't have the above, you can create your Medical Disclaimer here. The text is edited using the HTML Editor.