Gathering Pupil Data
For Direct Billed activities the portal will gather all the pupil data that you need as part of the application/enrolment process.
For Indirect Billed activities, you can send a link to your schools (who have the pupil contact information). This requests parents/ guardians to create a Schooble account and enter their contact and pupil details. Take a look below on how this can be achieved.
Email the schools
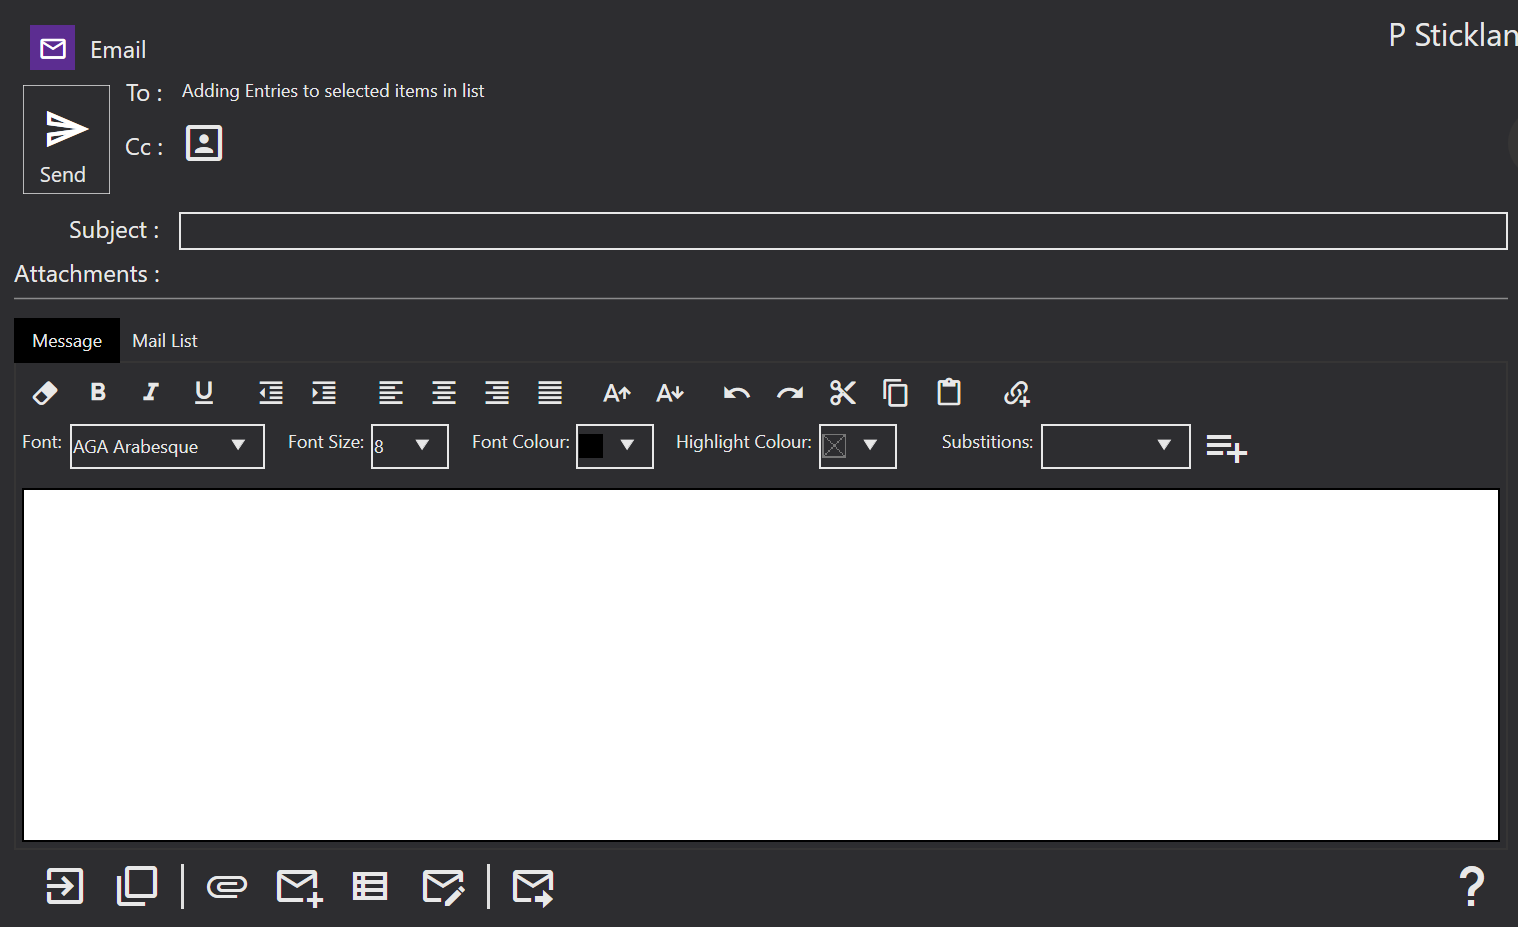
You can contact all your schools in one go by using Xperios. To do this:
- From the menu click on the dashboard,
- click the Folder icon,
- search & run the query School - Contact Details,
- once loaded click the Email icon along the bottom,
- write out your email including the link,*
- send.
* If there are schools you do not wish to contact click on the Mail List tab and untick the schools you do not need.
The Link
The link that you need to send your schools is your Paritor portal address followed by connect. If your organisation was the Ambridge Music Service, their link would be :
https://ambridges.paritor.com/connect
The Parent Process
When parents follow the link they will be taken to the page below. On the next page they will be asked to either Sign In, or Create an Account.
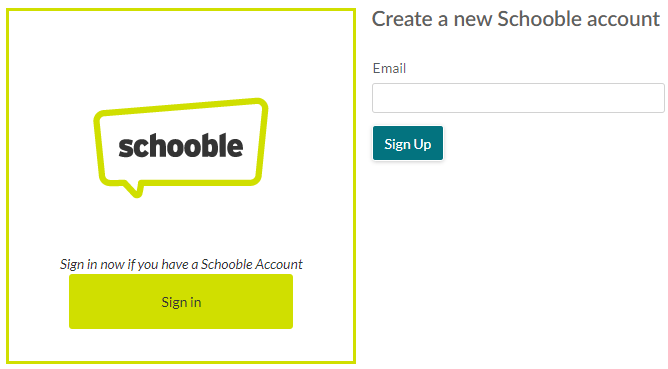
Once they have either signed in or created a new account they will see the below screen.
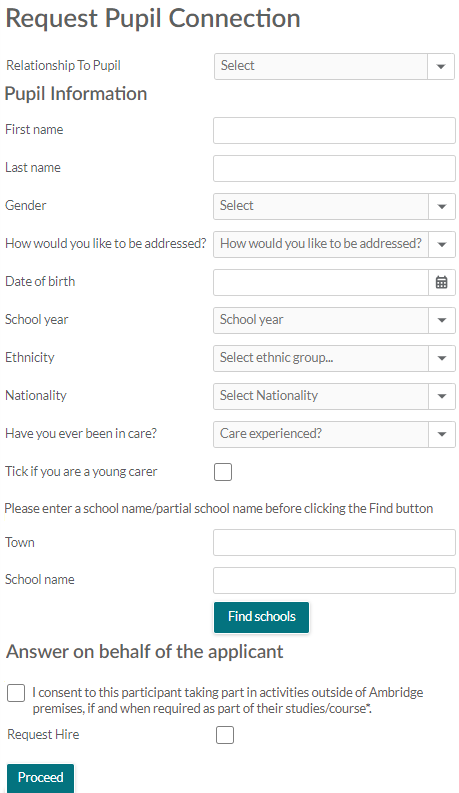
The fields below will only appear if they are enabled from within Xperios. You can find these in Settings > System Configuration> System > edit mode.
Ethnicity | Have you ever been in care | Young Carer | Looked after child | SEN No
Ethnicity - For info on adding your own Ethnicities, see the System Settings > CRM > Ethnic Group part of the user guide.
Applicant school info - parents can enter the town, or the school, or both. They will then need to click Find School and single click on the school from the options that appear. If the school does not appear they can enter it in the School not found field. A new field will appear
Teacher / Activity. The parent will need to select the activity and who teaches their pupil before continuing.
Request Hire - Many services offer more than instrument hire which is why this field is generic. You can change the wording within Xperios by going to: Settings > Portal Parameters > Detail > edit mode. Add your text to the Hire Required text box and save.
If you have Consent questions added into Xperios (Settings > CRM > Consent Questions) and they are marked for pupils, they will appear just after the Hire Required box.
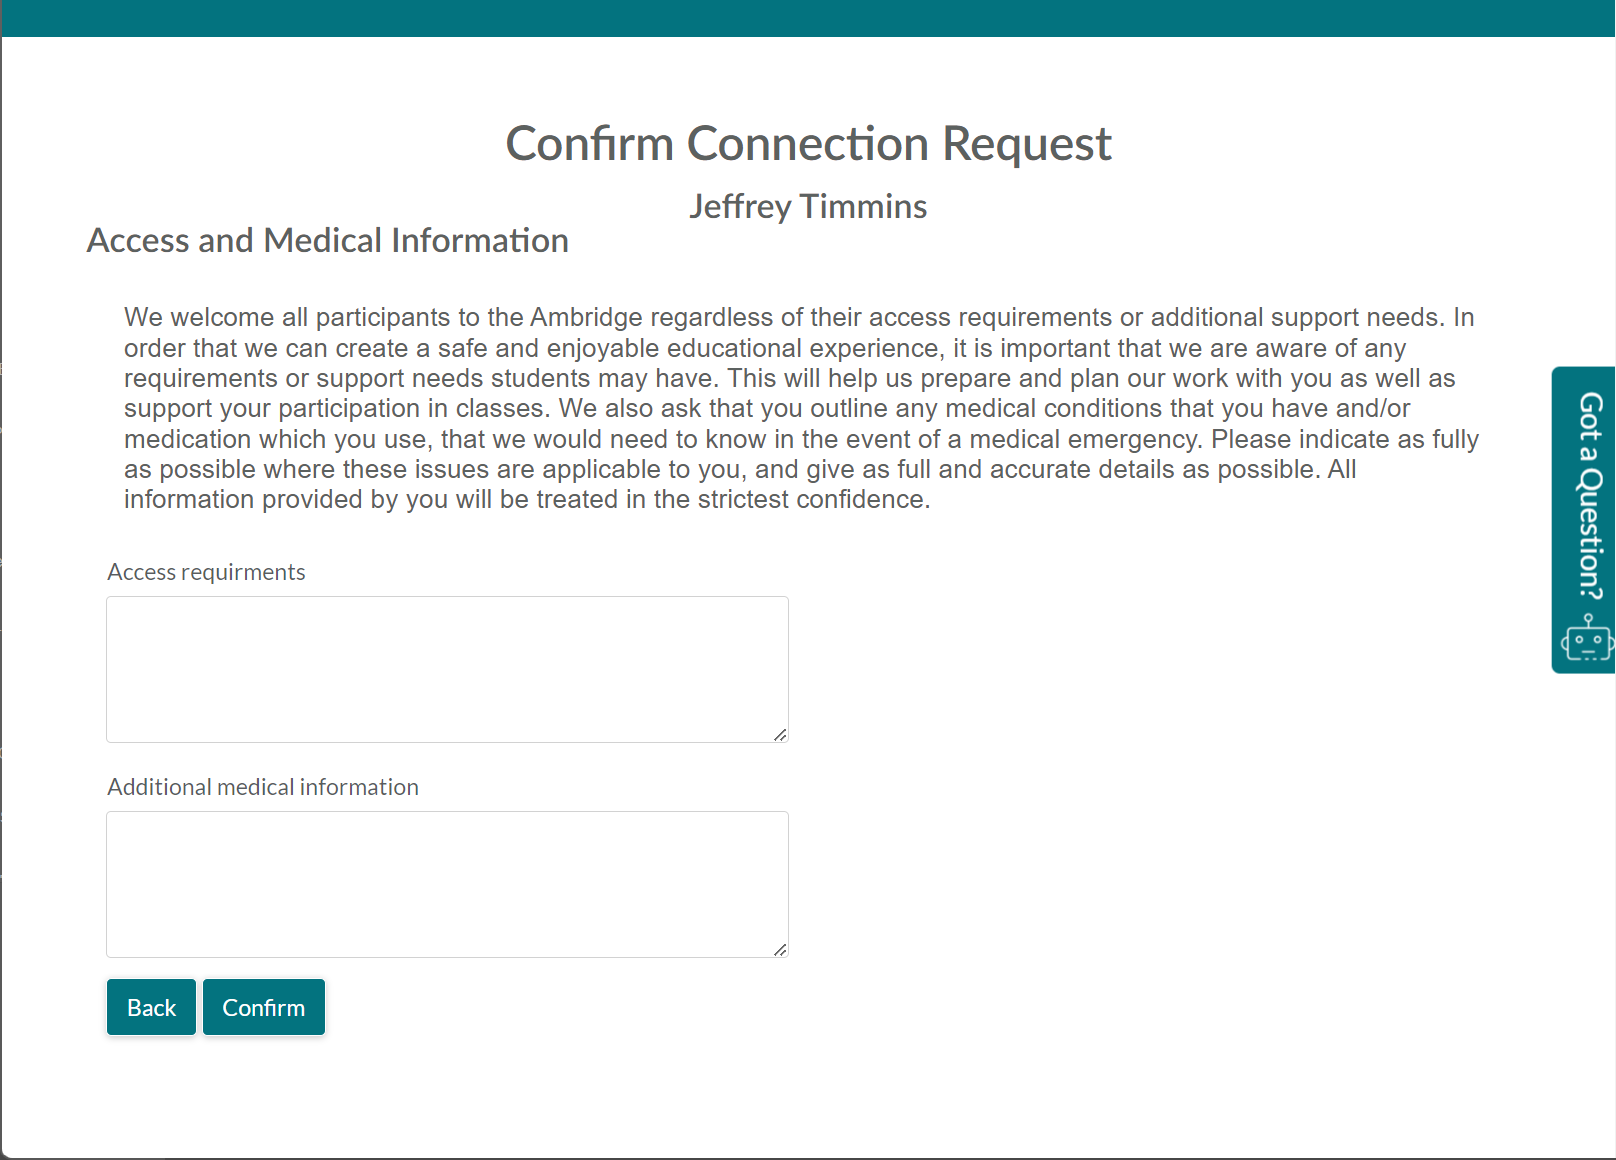
The blurb of text at the top of the page, as well as what information is requested in the two fields can be customised from within Xperios.
To do this go to Settings > Portal Parameters > Medical > edit mode. The information pulled into the blurb will be what is in the Medical Disclaimer field.
Information that customers enter into these fields will be stored against the contact record card. These are also reportable.
Once they have clicked confirm this will take them through to a confirmation page.
Connecting the data
When a parent has completed this process a connection request is then sent to the teacher. The teacher is in the best place to state if they do or do not teach this pupil. All they will need to do is:
- Log into the portal
- Click on My Teaching and select Connection Request

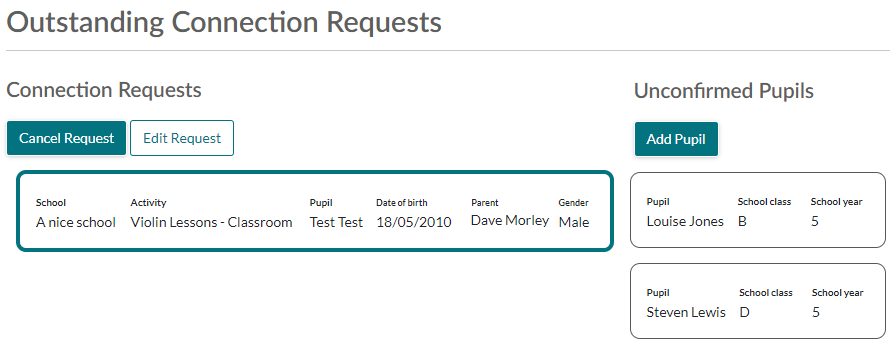
- Teachers can click on the request and on the left the system will show any pupils in the lesson already.
- If the connection request matches one of these pupils the teacher simply clicks on the pupil from the list and selects Confirm. If the request includes a resource request the teacher can tick that box and select what the pupil needs.
- If the connection request doesn’t match any results the teacher clicks Add Pupil from the top. They can then select search for their lesson. The start date defaults to the beginning of term but can be overwritten.
- Once complete these pupils will have a record in Xperios, appear in the lesson and in the Portal.