Event Transfer
To transfer someone from one Event to another you need to locate their record in the current Event. Open the “Delegates” tab with the Event selected and click on the delegate that you are transferring.
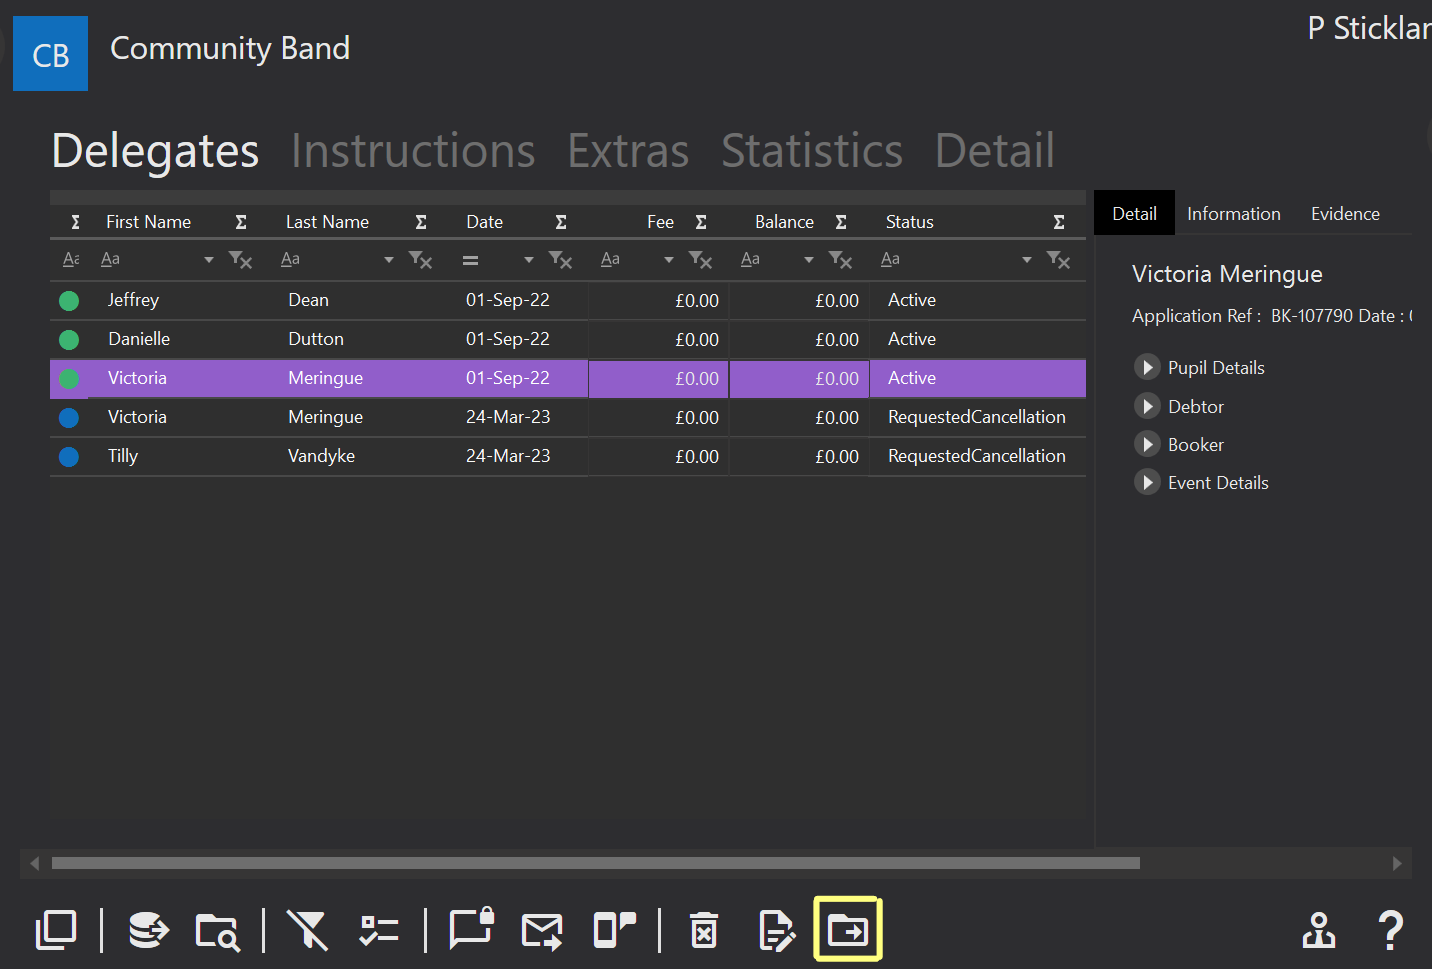
 This icon will appear in the bottom tool bar. Clicking this icon will open a display like the example shown below.
This is the transfer Event screen.
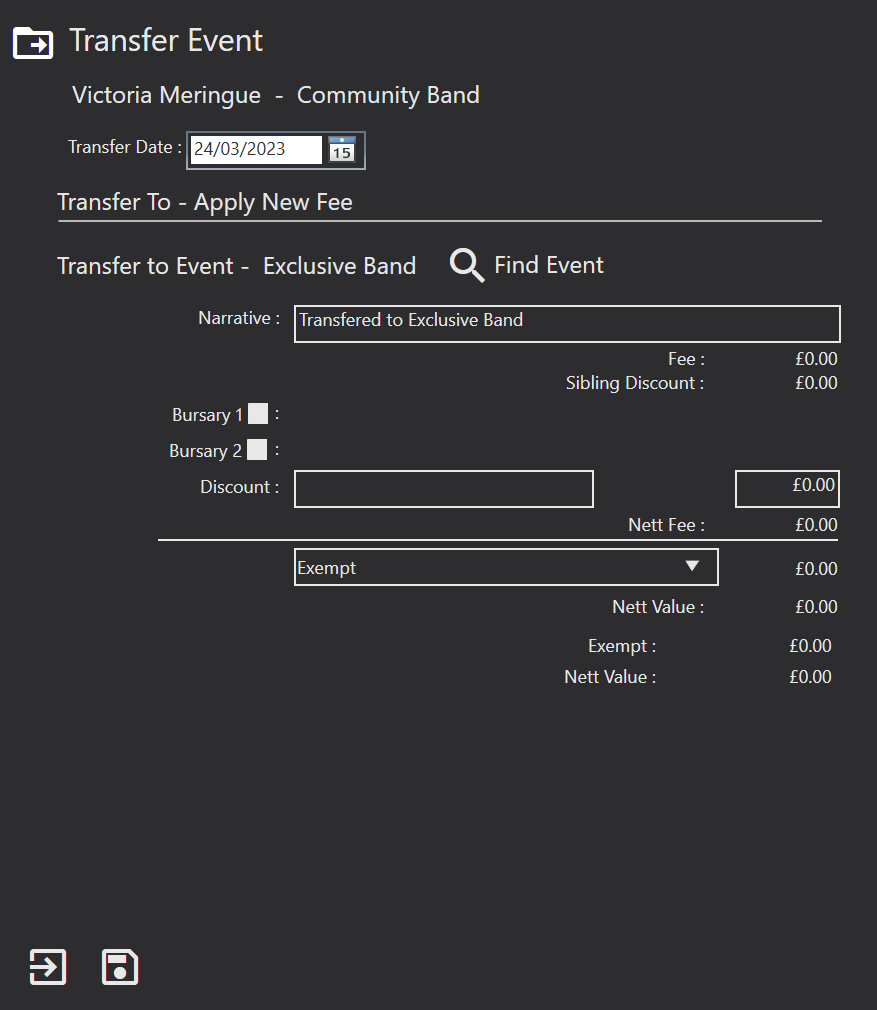
First, you will need to select the Transfer Date. This is the date the transfer takes place.
Next, find the event that you are transferring the delegate to. You can do this by clicking the Find Event field. Click on the new event and then the + icon at the bottom.
You can now enter a Narrative about the transfer. The system auto populates this for you but you can overtype if required.
You can enter the finances for the new Event. You can add any Bursaries by ticking the tick boxes provided. You can also indicate if a Discount is applicable, enter the description for this and then enter the discount value.
Once you have altered all the necessary fields you can use the Save icon. You will then need to Save the full record as well.
If the individual has an Outstanding amount for their old Event, they will be left with a fee owed. If they have a payment schedule this will still be in place. The system will set up a new payment schedule and separate Outstanding amount for the new Event. Therefore, the individual will have two separate invoices. A payment schedule for the new Event only will exist. If you have automatic refunds turned off under System Configuration there will be a refund due on the invoice for the old Event and you will need to create the refund. If you have automatic refunds on, the system will automatically create a refund.